7 Roll-Up Banner Design Tips for Trade Shows and Events
· Print2Elevate team
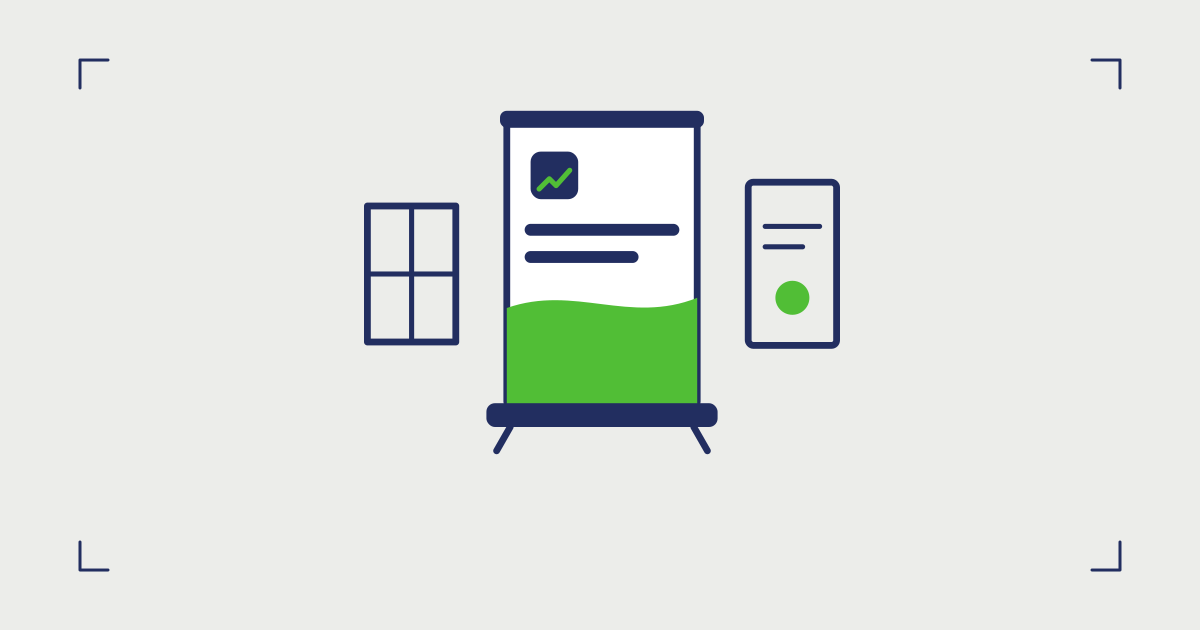
A roll-up banner has a tough job. It has to tell people who you are and why they should stop — from several metres away, in a room full of other banners, in the two or three seconds someone spends walking past.
We see a lot of banner files come through, and the ones that work tend to follow the same few rules. Here are seven we recommend for every trade show and event banner.
1. Design for distance, not for your screen
On your monitor, a banner design is a small rectangle a few centimetres from your face. In real life, it’s about two metres tall and viewed from three to ten metres away.
Before you finalize, zoom out until the whole design is about the size of your thumb on screen. If you can still read the headline and recognize the logo, you’re on the right track. If it turns into a blur of small text, simplify.
A good rule of thumb for minimum text size: every 1 inch of letter height is readable from about 10 feet away. For a headline you want read from across the aisle, that means letters at least 3–4 inches tall.
2. Put the important stuff in the top two-thirds
At most events, the bottom of a roll-up banner is hidden — behind a table, a display, a chair, or a crowd of people. Anything you put in the lower third is likely to go unseen.
Use the space like this:
- Top third: logo and headline — the first thing people see
- Middle third: a key visual and two or three short supporting points
- Bottom third: colour, pattern, or imagery that doesn’t need to be read
Your website or social handle can sit at the bottom of the middle section, where it’s still visible above a table.
3. Say one thing, clearly
The most common banner mistake is trying to say everything. A banner isn’t a brochure. People won’t stand and read a paragraph.
Aim for:
- One headline of five to eight words that says what you do or why it matters
- Up to three short points — single lines, not sentences
- One call to action, like “Book a demo,” “Ask us about…,” or a URL
Everything else belongs on a flyer you hand out once they’ve stopped.
4. Go big on contrast
Event venues are often dim, unevenly lit, or full of harsh overhead light. Low-contrast designs — grey on white, light blue on white, text over busy photos — wash out quickly.
Use strong contrast between text and background: dark on light or light on dark. If you place text over a photo, add a solid colour block or a dark overlay behind it. Stick to your brand colours, but use the boldest combination they allow.
5. Use simple, heavy fonts
Thin, decorative, and script fonts look elegant up close and disappear from a distance. For banners, choose clean sans-serif fonts in bold or semi-bold weights, and limit yourself to one or two typefaces.
Avoid long lines of all-caps text — it’s harder to read than you’d think. Sentence case with a strong weight is clearer and feels friendlier.
6. Use one strong visual
A single, high-quality image or graphic does more than a collage. A product photo, a bold illustration, or a large icon gives people something to recognize instantly.
Whatever you use, it has to be high resolution at full size. For a standard 33 × 80″ banner, aim for images that are at least 100–150 dpi at that size. Logos should be vector files so they stay sharp. Stretching a small web image to banner size is the fastest way to get a blurry result.
7. Set up the file correctly
A great design can still print badly if the file is set up wrong. For roll-up banners:
- Design at the exact size of the banner, such as 33 × 80″ or 47 × 80″
- Add bleed as specified by the product — often extra length at the bottom, because a few inches roll into the base
- Keep text away from the very edges and the bottom few inches
- Use CMYK colour and export as a high-quality PDF
Our guide to preparing a print-ready PDF covers bleed, colour, and resolution in more detail. When you request a quote, we send exact specs for the banner and stand you choose.
Bonus: think about the whole booth
Your banner is part of a set. If you’re using more than one banner, design them as a family — same colours, same fonts, with each one doing a different job. And bring flyers or cards so people who stop can take something with them.
Get your banner ready before the event
Trade show dates don’t move, so give yourself time. Most roll-up banners are ready in a few business days, and if you’re cutting it close, we can often arrange local pickup in Ottawa / Gatineau.
Need help with the design itself? Our design services team builds banners every week. Or if your file is ready, get a quote on banners and we’ll find you the best price and turnaround.